2018-05-21 Remote controlled tank, part 3: The other sort of hardware
Begone, electrical demons!
With the motor controller working, the mechanical side of things became the next focus.
Let me preface that with this. Also, spoiler alert.
Pardon the mess, and pardon the autofocus
So, the eclectic electric problems are behind. The radios is use are XBee pro 900MHz units with RP-SMA antenna.
Back in March, I ordered the batteries and some other electrical components from HobbyKing. They shipped yesterday, after two chats with customer service to get them to stop waiting for some pissant little parts to come in. Three cheers for backorders! (In a roughly a month, but no guarantees).
Mechanical design
The electrical and software issues no longer existing meant it was time to figure out what the software and spark-ware would be controlling. I fired up Inventor, got frustrated, and switched to SolidWorks, took a step back, and fired up a whiteboard. To keep the centre of mass as low as possible, the motors should be kept close to inline with the wheels. The batteries would go in a cage above the motor controller and frame. These considerations then went into an AutoCAD sketch to figure out the rough geometry before moving to 3D. The CAD drawing at the start of this post is the design without tires, batteries, axles, or chains.
(Sidenote: The only advantage Inventor has over SolidWorks is the noise when using the Mate tool. And that is a serious benefit, so consider it carefully. Oh, also free student licensing, but still. *Poink!*)
I'm on a work term now, so I cannot work on the actual machining without either ordering components to spec, which is pricey, or driving to Waterloo on a Saturday to use the machine shop then. I am strongly considering option two.
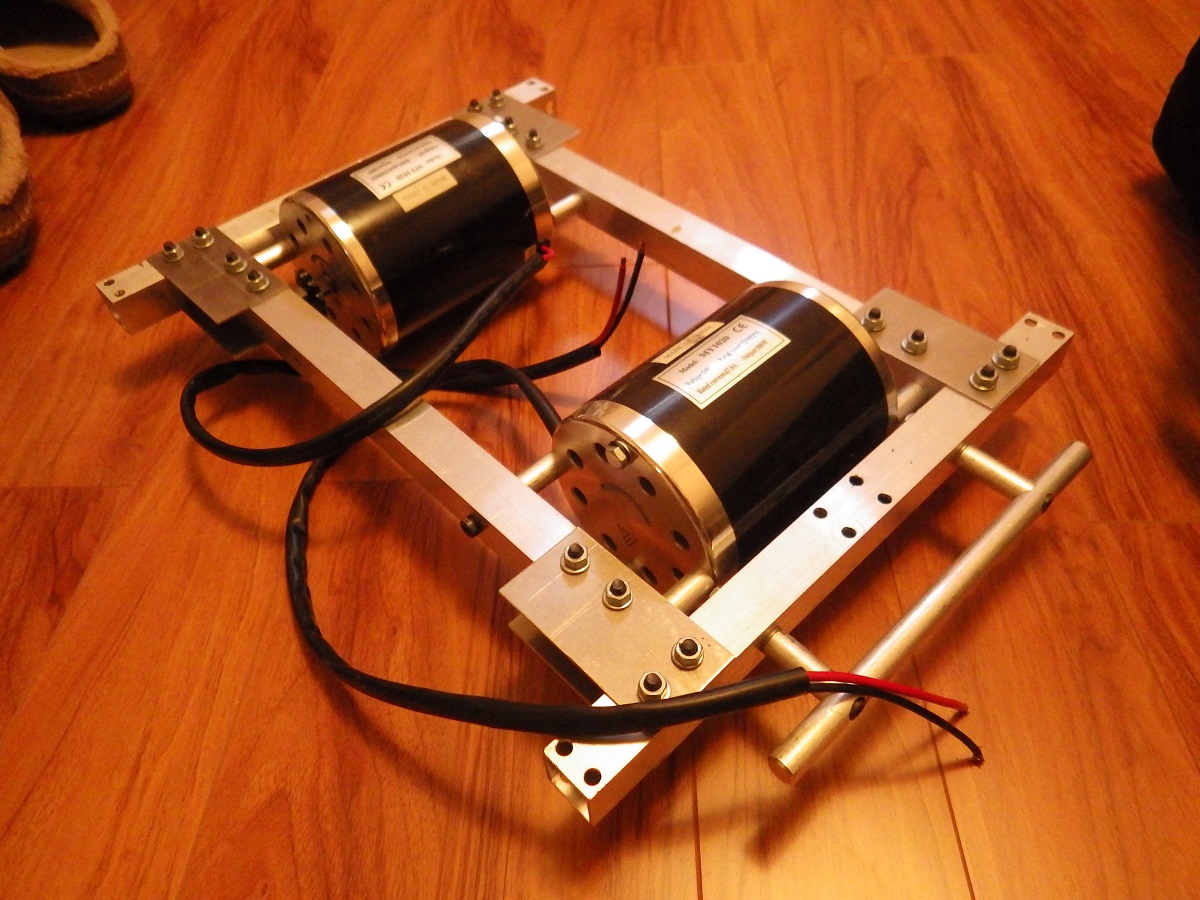
However, I did actually get most of the frame built and assembled before I left!
The entire structure could be made with fairly simple milling or turning operations, so it took only one evening in the shop to get everything together. Or, at least, it would have if I hadn't picked up the wrong drill bit thirty seconds in and proceeded to create nine gusset plates with 8.5mm holes that were meant to fit 6mm machine screws.
After waiting through the weekend and purchasing more material on Monday, I went back, used a properly sized drill bit (letter size C), and built the whole works in one go with help from the same friend of mine who helped with the soldering. He handled all the turning, I handled all the milling, and we only had one size-C drill bit between the two of us.
Everything fit together exactly as designed. Which shouldn't come as a surprise, but always feels like a small miracle.
My baby

Isn't she pretty?
The next steps from here on in is to get the axle assemblies made, the bearing blocks built, the battery cage attached, and get everything assembled. Once those seemingly simple steps are complete, we're off to the races!